Why Foundation Pouring Matters
Every residential construction or remodeling project begins below ground level. The structural integrity of any home addition, basement remodel, or accessory building depends on the quality of the concrete foundation beneath it. When properly executed, foundation pouring creates a stable, level platform that distributes the weight of the structure evenly across the soil. Poor technique or shortcuts during this stage lead to cracks, settling, moisture intrusion, and costly repairs down the road.
Homeowners in Mechanicsville and surrounding areas often underestimate the complexity involved. Soil composition, drainage patterns, freeze-thaw cycles, and local building codes all influence how the concrete must be mixed, placed, and finished. A successful pour requires precise site preparation, proper reinforcement placement, and careful attention to curing conditions. Understanding these fundamentals helps property owners make informed decisions when planning additions or major renovations.
Assessing Site Conditions and Planning the Pour
Before the first cubic yard of concrete arrives, thorough site assessment determines the project’s success. Soil testing reveals composition, bearing capacity, and drainage characteristics. Clay-heavy soils common in Maryland require different preparation than sandy or loamy ground. A geotechnical report identifies weak spots, high water tables, or areas prone to settling that demand additional compaction or drainage solutions.
Excavation depth must account for frost line requirements, typically 30 inches in this region, to prevent heaving during winter months. The subgrade should be compacted to at least 95 percent density, then covered with a layer of crushed stone for drainage and stability. Formwork must be level, braced, and aligned to the exact dimensions specified in the building plans. Any deviation here translates directly into problems with framing and finishing later.
Reinforcement placement comes next. Steel rebar grids or wire mesh strengthen the concrete and control cracking as it cures. The spacing, size, and placement of these elements follow engineering specifications based on load calculations. Proper chair supports hold the rebar at the correct height within the slab, typically two to three inches from the bottom. Inspections at this stage confirm compliance with local codes before the pour begins.
The Foundation Pouring Process Explained
The actual foundation pouring demands coordination, speed, and precision. Concrete arrives in ready-mix trucks with a specific slump rating, which measures workability. For most residential foundations, a four- to five-inch slump provides the right balance between flowability and strength. The mix design itself, typically a 3,000 to 4,000 PSI compressive strength blend, includes Portland cement, aggregates, water, and admixtures tailored to the climate and application.
Placement starts at the furthest point from the truck and works backward, filling the forms in continuous pours whenever possible. Stopping midway and resuming later creates cold joints, weak planes where two batches meet. Workers use shovels and rakes to distribute the concrete evenly, then consolidate it with mechanical vibrators. Vibration eliminates air pockets and ensures the mix flows around the rebar and into corners without voids. Over-vibration, however, causes segregation, where heavier aggregates settle and weaker material rises to the surface.
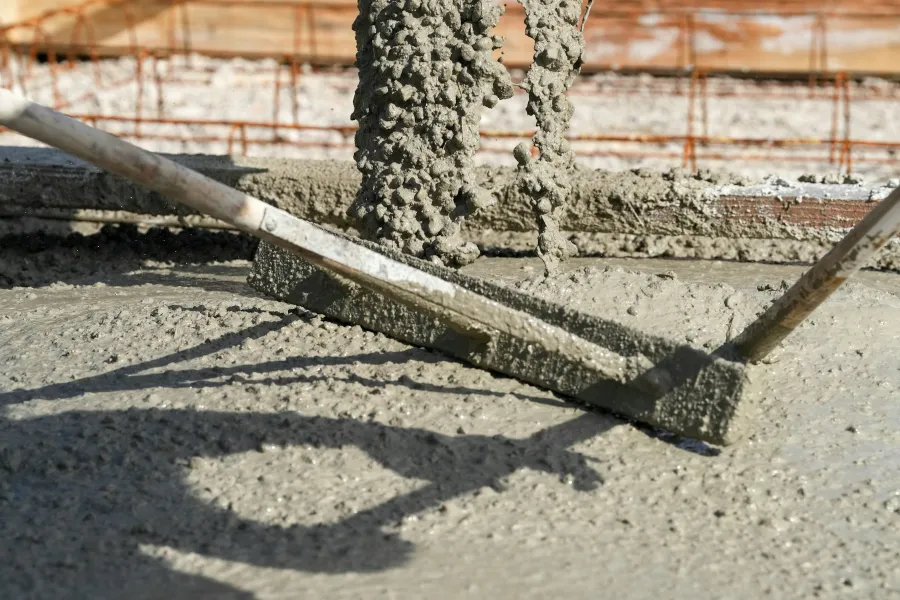
Screeding follows immediately, using a straight board pulled across the top of the forms to level the surface. This step removes excess material and creates a flat plane for finishing. Depending on the foundation type, the surface may receive a broom finish for traction, a smooth trowel finish for interior slabs, or remain rough if it will be covered by additional construction. Timing is critical; if the crew waits too long, the concrete hardens and becomes difficult to work. If they finish too early, water bleeds to the surface and weakens the top layer.
Finishing Touches and Surface Protection
Curing determines whether the foundation reaches its design strength. Concrete hardens through a chemical reaction called hydration, which requires consistent moisture and temperature for at least seven days. In Maryland’s variable climate, this means protecting the slab from rapid drying, freezing, or excessive heat. Covering the surface with plastic sheeting, wet burlap, or curing blankets maintains the necessary conditions. Some contractors apply liquid curing compounds that form a moisture-retaining membrane.
Temperature swings present a particular challenge. Summer pours in Mechanicsville can experience surface temperatures exceeding 90 degrees, accelerating drying and increasing the risk of shrinkage cracks. Spring and fall projects face the opposite problem, where overnight lows can slow or even halt the curing process. Heating blankets or insulated forms may be necessary to maintain the 50- to 85-degree range that promotes optimal strength development.
Quality control continues throughout curing. Inspectors check for surface cracks, scaling, or discoloration that signal problems with the mix or placement. Load testing or core samples verify compressive strength before framing begins. Properly cured concrete gains approximately 70 percent of its strength in the first week and continues hardening for months. Rushing this stage to meet construction deadlines sacrifices long-term performance for short-term convenience.
When to Bring in a Professional
After the initial curing period, proper finishing and protection ensure long-term durability. Surface finishing begins once the concrete achieves sufficient hardness, typically within 24 to 48 hours. Builders apply appropriate sealers to prevent moisture intrusion, which can lead to cracking or spalling over time. In regions with freeze-thaw cycles like Maryland, where winter temperatures regularly drop below freezing, sealing becomes especially important to prevent water from penetrating the concrete and expanding when frozen.
Waterproofing membranes or coatings add another layer of defense against groundwater. Foundation walls benefit from exterior waterproofing applied before backfilling, creating a barrier that directs moisture away from the structure. Proper grading around the foundation further channels rainwater and snowmelt away from the base, reducing hydrostatic pressure against basement walls. These finishing steps transform a basic concrete pour into a resilient foundation that protects the structure for decades. Attention to detail during this phase prevents costly repairs later and ensures the foundation performs as designed under normal and extreme conditions.